LUMBAR SPINE DISC INJURY REHAB NEW UPDATE NOW AVAILABLE

Lumbar Spine Disc Injury Rehab | Weeks 01-02

Lumbar Spine Disc Injury Rehab | Weeks 01-02

LUMBAR SPINE DISC INJURY REHAB | WEEKS 01-02


Stage Pre-requisites

Account Image

To enter this program, you must:

1) Have a confirmed diagnosis of a lumbar spine disc bulge, disc herniation, disc prolapse, disc-related low back pain, sciatica or post-operative lumbar discectomy presentation from a Physiotherapist, Medical Practitioner, MRI or CT scan. An X-ray alone is not sufficient to confirm a lumbar disc injury.

2) Have seen a Physiotherapist or Medical Practitioner for an assessment of your back injury and clearance to start a mobility and rehab program.

3) Have no additional complications such as fracture, unstable spondylolisthesis, infection, tumour, cauda equina symptoms or other serious spinal pathology.

4) Have no unremitting or constant worsening pain or neural symptoms below the knee combined with a significant lateral spinal shift unless you are being directly managed by a Physiotherapist or Medical Practitioner.

5) Not have a diagnosis of unresolved nerve root entrapment requiring surgical intervention.

6) Seek urgent medical attention if you develop new bladder or bowel changes, saddle numbness, progressive leg weakness, unexplained fever, unexplained weight loss, or severe unrelenting night pain.


Physio Check-In

Physio Check-In

Because this is the first stage of the program, it is strongly recommended that you have a Physiotherapist assess your lumbar spine injury before starting.

A Physiotherapist can help confirm whether this program is appropriate for you, whether your symptoms are disc-related, whether you have a lateral shift, and which direction of movement is most appropriate for your symptoms.

This is especially important if you have:

1) pain travelling below the knee,

2) pins and needles or numbness,

3) weakness in the leg or foot,

4) one-sided sciatica or radiculopathy,

5) a visible lateral shift,

6) symptoms that are worsening instead of improving.


The side glide exercises and directional exercises should only be used when they are appropriate for your presentation.


Goals

Account Image

By the end of Weeks 1–2, the goal is to have made early progress in settling symptoms, improving safe movement and identifying the positions or exercises that help your disc-related pain centralise.

By the end of this block, you should aim to:

1) Complete your daily mobility routine 2–3 times per day on most days, without increasing leg pain, pins and needles or numbness.

2) Identify at least 1–2 relieving positions or exercises that help reduce symptoms, centralise pain, or make standing and walking feel easier.

3) Improve tolerance to gentle lumbar extension exercises, such as McKenzie extension on elbows or hands, provided they reduce or centralise symptoms.

4) Reduce the intensity, frequency or spread of referred leg symptoms where possible, especially if symptoms are currently travelling into the buttock, thigh, calf or foot.

5) Improve confidence with basic daily movements, including getting out of bed, standing from sitting, walking short distances and changing position regularly.

6) Begin low-level core and glute control exercises with good technique, without holding your breath, over-bracing or aggravating lower back or leg symptoms.

7) Avoid major aggravating activities during this early stage, including prolonged sitting, repeated bending, heavy lifting, running, impact exercise and loaded spinal flexion.

8) Understand whether special exercises such as side glides are appropriate for your presentation, especially if you have one-sided pain, sciatica/radiculopathy or a lateral shift.


Recommended Equipment

Account Image
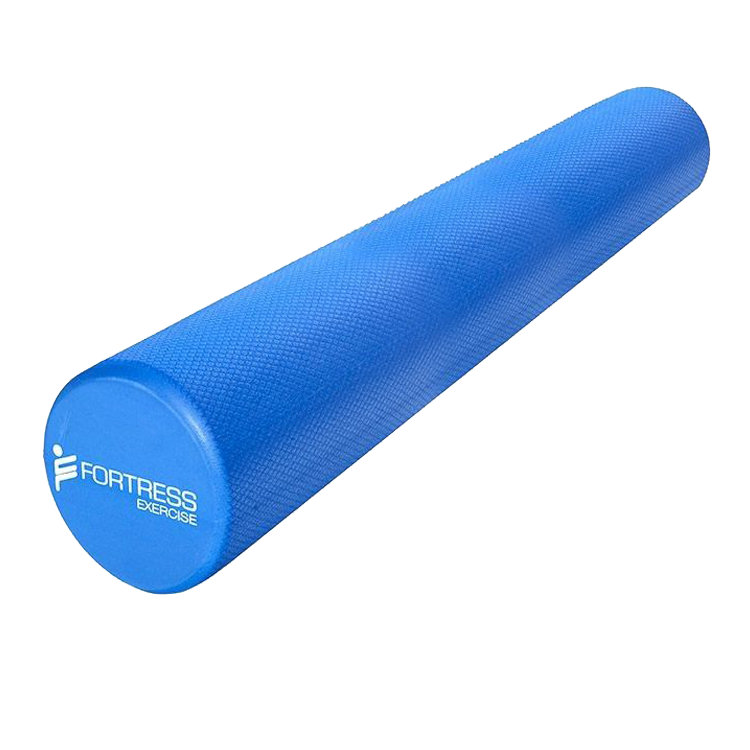
Foam Roller - Long (90cm)

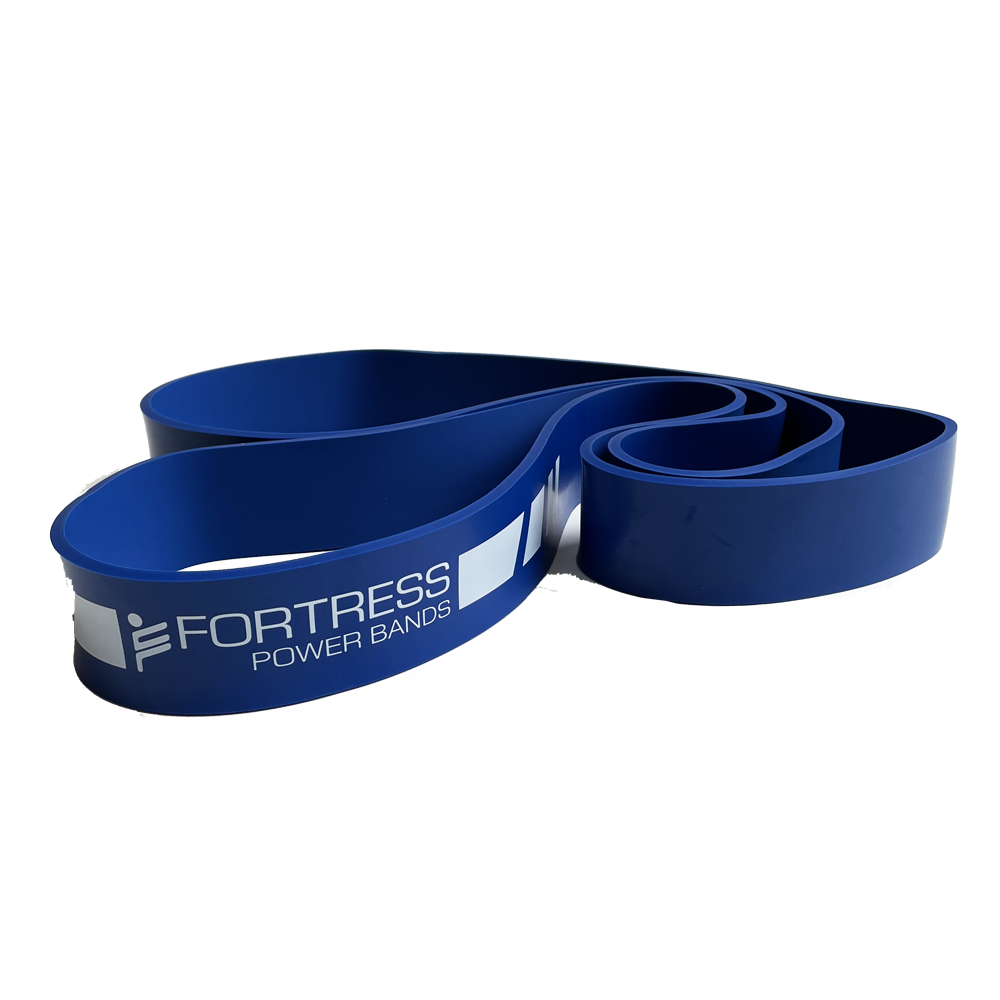
Power Band - Blue (X-Heavy)

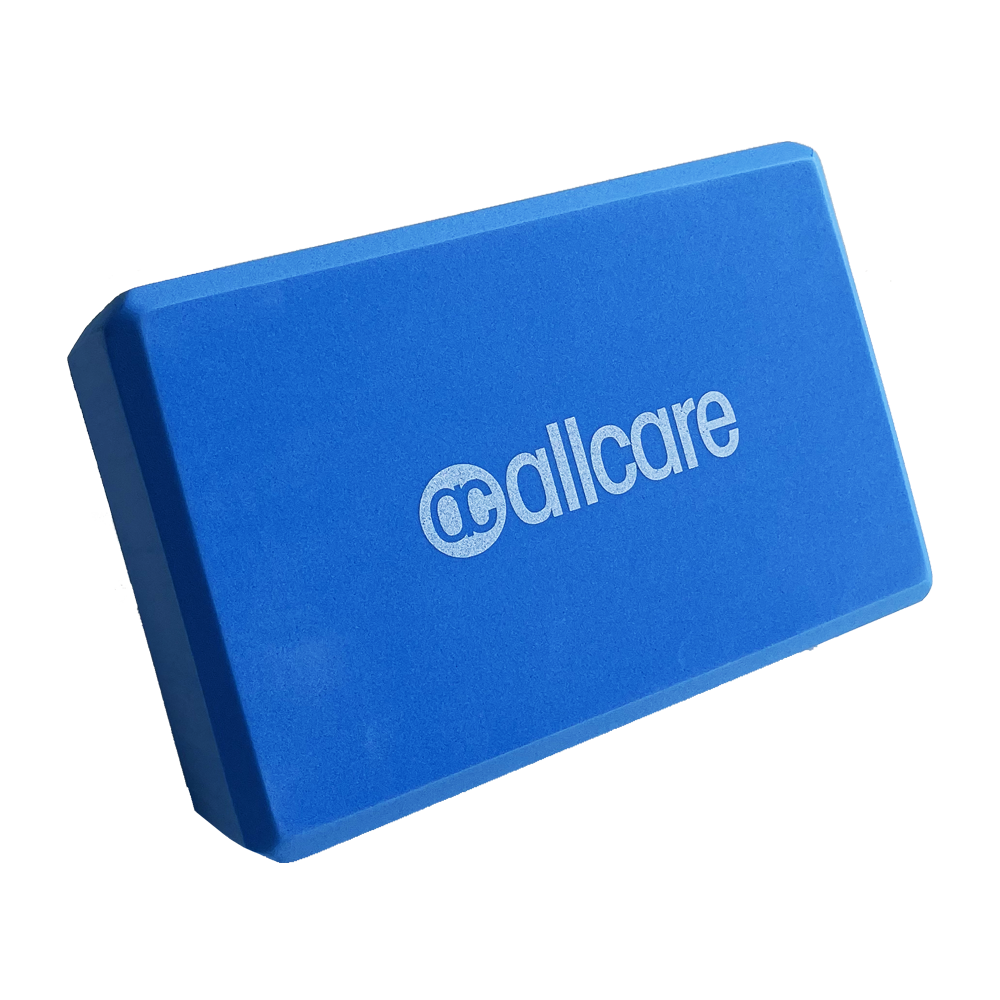
Yoga Block
Yoga Block


{% endif %}

WEEKS 1-2: Centralise Symptoms and Restore Extension-Based Movement

Account Image
WEEKLY INSTRUCTIONS

Welcome to Stage 1: Pain Reduction, Mobility and Early Control.

The aim of Weeks 1–2 is to settle your lumbar disc-related pain, reduce referred leg symptoms where possible, and start restoring safe, gentle movement through your lower back, hips and pelvis.

Lumbar disc injuries can vary significantly from person to person. Some people mainly have central lower back pain, while others may have pain into one side of the lower back, buttock, thigh, calf or foot. Some people may also experience sciatica-type symptoms such as pins and needles, numbness, altered sensation or pain referral into the leg.

During these first two weeks, the main priority is not heavy strengthening. The priority is to:

1) reduce pain and muscle guarding,

2) centralise symptoms where possible,

3) improve safe lumbar and hip mobility,

4) begin gentle lower abdominal, pelvic floor, glute and trunk control work,

5) avoid movements and positions that repeatedly aggravate your symptoms.


Centralisation means that symptoms move out of the leg and closer towards the lower back. For example, pain that was travelling into the calf may reduce to the thigh, buttock or lower back. This is generally a good sign. Sometimes your lower back may feel a little more noticeable as the leg symptoms reduce, but the overall goal is to reduce the spread, intensity and irritability of the referred pain.

In this stage, you will use a combination of gentle mobility exercises, extension-based movements, traction-style positions, hip stretches, glute release work, and low-level core and glute control exercises. These exercises are designed to help calm the area down, reduce protective spasm, improve your ability to move, and prepare your body for the next stage of rehab.

You can use the daily exercises as a morning and evening mobility routine, especially if you feel stiff when you first get up or after periods of sitting. If needed, you can also perform some of the mobility exercises during the day when symptoms build up.

Do not rush these first two weeks. The goal is to find the movements and positions that reduce your symptoms, not to force through pain.


DISC BULGE, EXTENSION AND CENTRALISATION EXPLANATION

With many lumbar disc injuries, especially disc bulges and herniations that are aggravated by sitting, bending or flexion-based positions, the disc and surrounding nerve structures can become mechanically irritated. This can contribute to pain in the lower back, buttock or leg, and may also cause sciatica-type symptoms such as pins and needles, numbness or altered sensation.

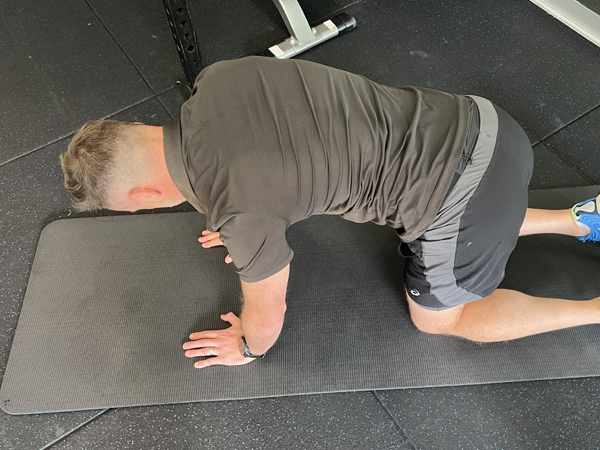
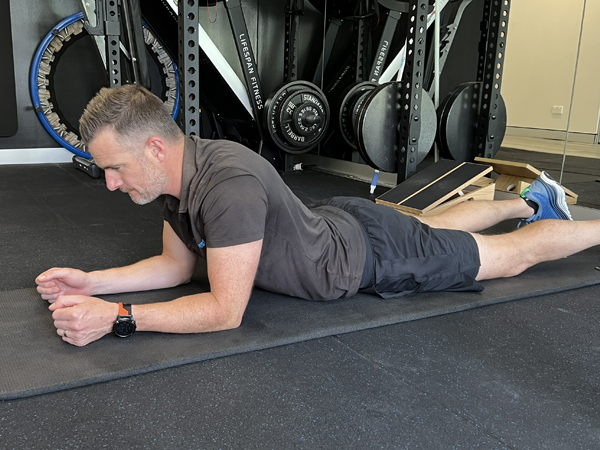
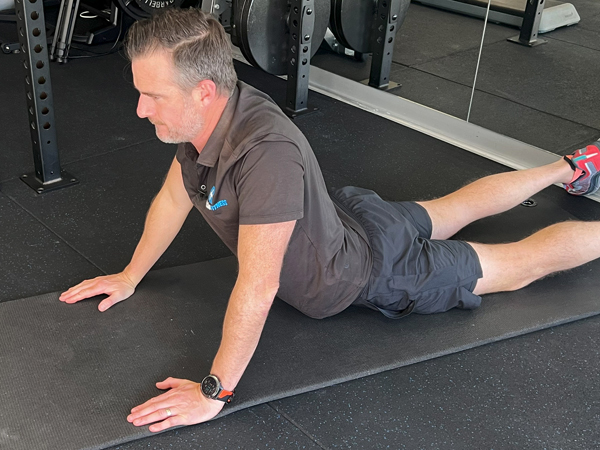
In the early stage of this program, extension-based exercises are a key focus. Extension means gently moving the lower back backwards, such as with McKenzie extension exercises on the elbows or hands. For many disc-related presentations, repeated lumbar extension can help reduce the mechanical sensitivity around the disc and nerve, improve movement, and encourage symptoms to move out of the leg and back towards the spine.

This process is called centralisation. Centralisation is when symptoms reduce further down the leg and move closer to the lower back. For example, pain that was travelling into the calf may reduce to the thigh, buttock or lower back. This is generally a positive response.

The aim is not to aggressively force the lower back into extension. The aim is to use repeated, controlled extension movements that your body responds well to. If extension reduces your leg symptoms, improves your movement, or makes your pain feel more central and less widespread, it is usually an important movement direction for your recovery.

For some people, especially those with one-sided pain or a visible lateral shift, extension alone may not be enough at first. In these cases, side glide exercises may be needed to help correct the lateral component before extension becomes comfortable and effective. Once the shift or one-sided component starts to reduce, extension exercises often become easier and more beneficial.

The key signs that the exercises are helping are:

1) symptoms move out of the leg and closer to the lower back,

2) leg pain, pins and needles or numbness reduce,

3) lower back movement improves,

4) standing and walking become easier,

5) sitting or bending becomes less irritable over time.


If your symptoms move further down the leg, become sharper, increase in intensity, or cause more pins and needles or numbness, stop that exercise and check with your Physiotherapist.


DAILY EXERCISES

Your daily exercises are designed to help you settle pain, improve movement, reduce stiffness and keep your spine moving in a controlled way.

In the first two weeks, aim to perform your daily mobility exercises 2–3 times per day, depending on your symptoms. Many people find it helpful to complete one session in the morning, one later in the day, and one in the evening if symptoms tend to build up.

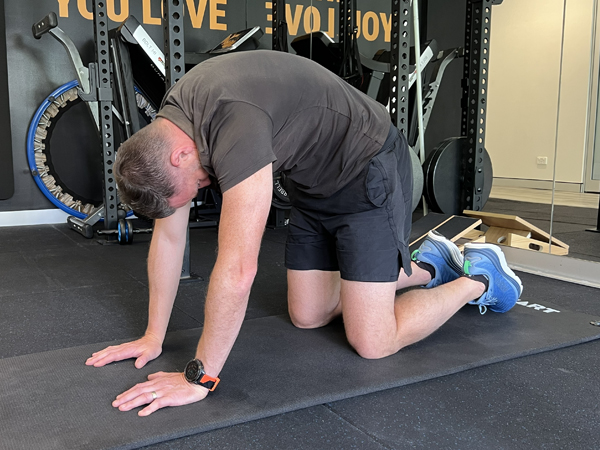
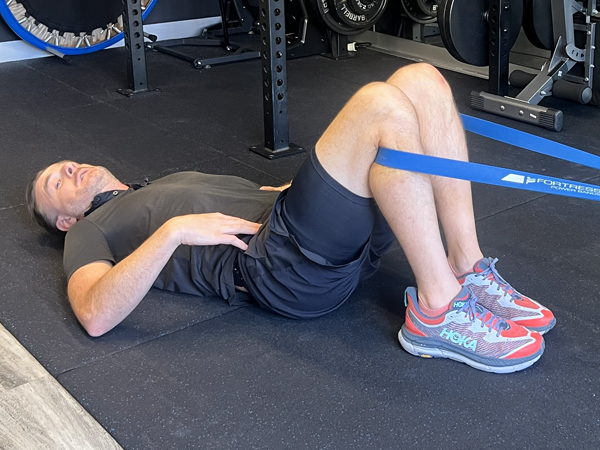
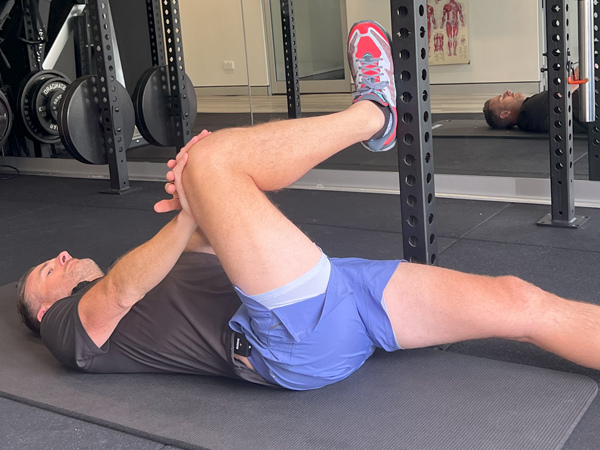
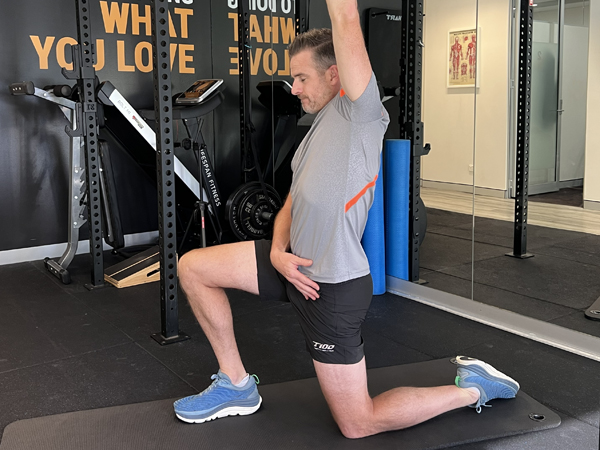
The early daily exercises include pelvic tilts, pelvic rocks, extension-based movements, lumbar rotation, lumbar traction, hip and glute mobility, and foam roller release work.

If you are very sore, start gently. You may need to perform some of the exercises on your bed before progressing to the floor. The movements should feel relieving, easing or mildly stretching. They should not significantly increase your back pain or worsen symptoms down the leg.


MOBILITY EXERCISES

Your mobility exercises are one of the most important parts of Weeks 1–2.

The aim is to improve movement through the lower back, hips and pelvis without irritating the disc injury. Some exercises are designed to encourage lumbar extension, some help reduce protective muscle spasm, and others help improve hip mobility so your lower back does not have to take all the load.

For most people with lumbar disc-related pain, prolonged sitting, repeated bending, heavy lifting and slouched positions can aggravate symptoms. These exercises help counteract those positions by encouraging gentle movement, improved circulation and better control.

Aim to do your mobility exercises slowly and carefully. You do not need to push to end range. In this stage, comfort and symptom response are more important than range.


CORE AND GLUTE ACTIVATION EXERCISES

The core and glute exercises in Weeks 1–2 are low-level control exercises.

The aim is to gently improve your ability to recruit the lower abdominals, pelvic floor, deep trunk muscles and glute muscles without bracing aggressively or increasing your symptoms.

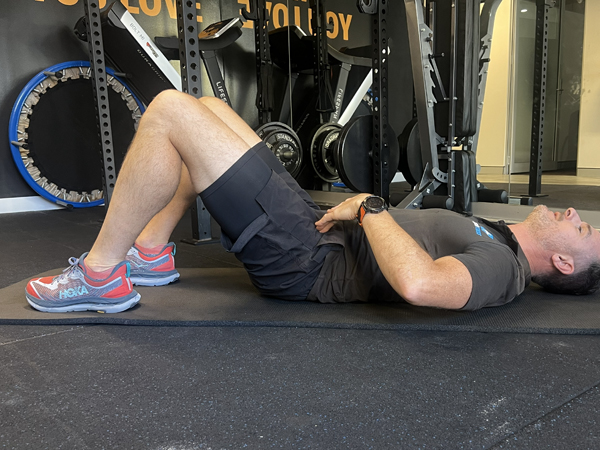
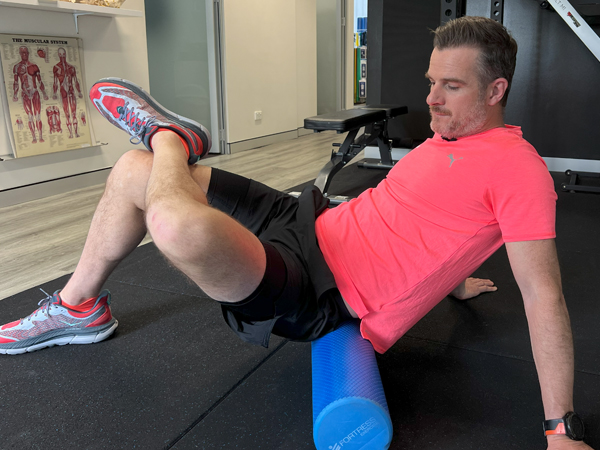
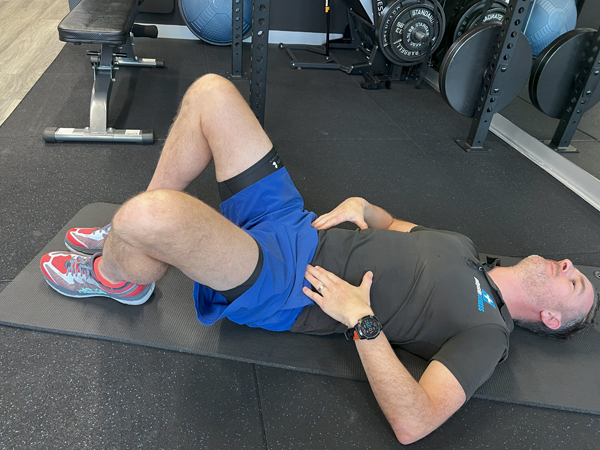
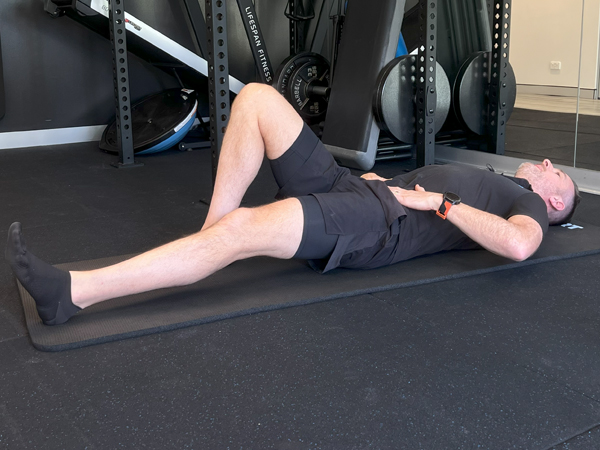
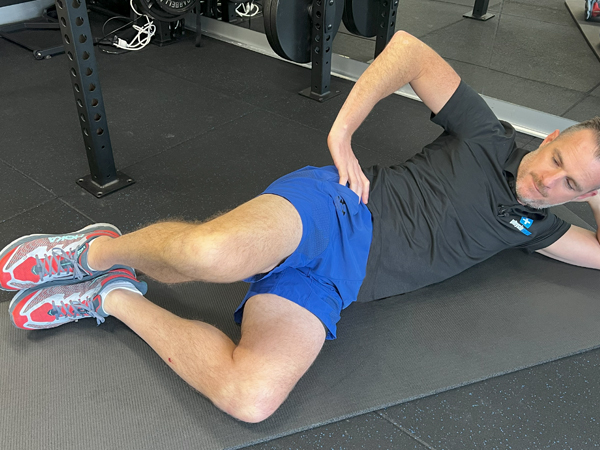
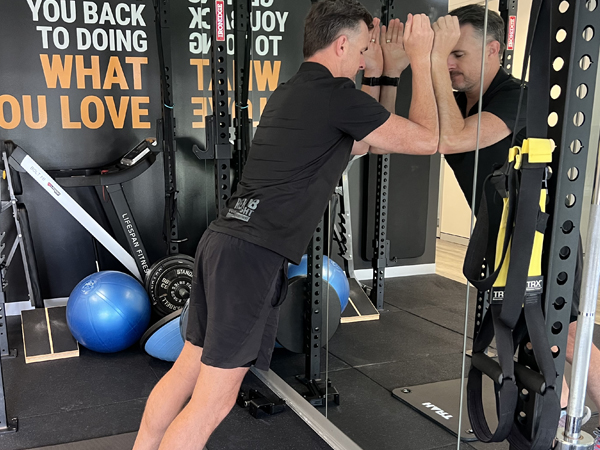
You will start with exercises such as pelvic floor / TA breathing, knee fall outs, leg slides, clams, standing incline planks, standing side planks and controlled rotations.

These exercises should feel controlled, light and steady. They are not designed to be maximal strengthening exercises yet. You should feel like you are learning to switch the right muscles on again while keeping your spine relaxed and stable.

If any core exercise increases leg pain, increases pins and needles, or causes your back to spasm, reduce the range, reduce the effort, or stop that exercise and speak to your Physiotherapist.


SPECIAL EXERCISES

The special exercises in this stage are only for specific presentations.

The side glide exercises are generally used when you have one-sided disc-related pain, one-sided referred leg symptoms, sciatica/radiculopathy, or a visible lateral shift. They are not required for everyone.

These exercises are designed to help correct a lateral shift or directional preference, but they must be performed in the correct direction. If you do them the wrong way, they may aggravate your symptoms.

If you are unsure whether these exercises apply to you, only perform them after being assessed by a Physiotherapist.


SPECIAL NOTES

Avoid long periods of sitting during Weeks 1–2. Sitting commonly increases lumbar disc pressure and can aggravate disc-related lower back pain and sciatica. If sitting increases your symptoms, break it up regularly and use standing, walking or lying positions that feel more relieving.

Avoid heavy lifting, deep squats, deadlifts, repeated bending, loaded twisting, impact exercise, running, long walks that increase symptoms, and aggressive stretching.

At this stage, the main things to avoid are:

1) bending repeatedly into pain,

2) lifting with a rounded lower back,

3) sitting for too long without changing position,

4) pushing through referred leg pain,

5) exercises that increase symptoms further down the leg.


Walking can be helpful if it reduces symptoms or keeps them stable. Keep walks short and regular rather than long and fatiguing. If walking increases leg pain, pins and needles or numbness, reduce the distance and speak to your Physiotherapist.

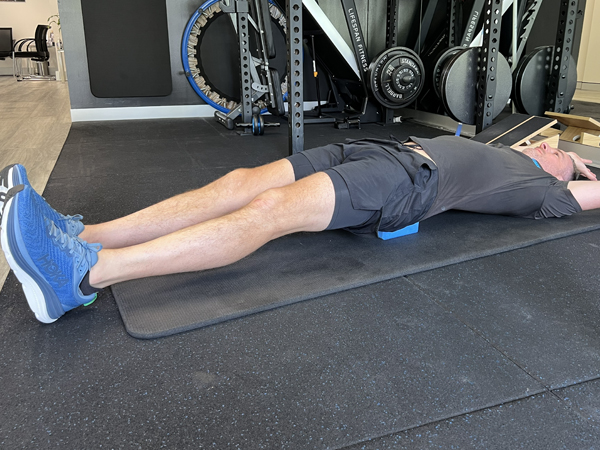
You may use relieving positions such as lying on your back, lying on your side, gentle traction positions, or extension-based resting positions if they reduce your symptoms.


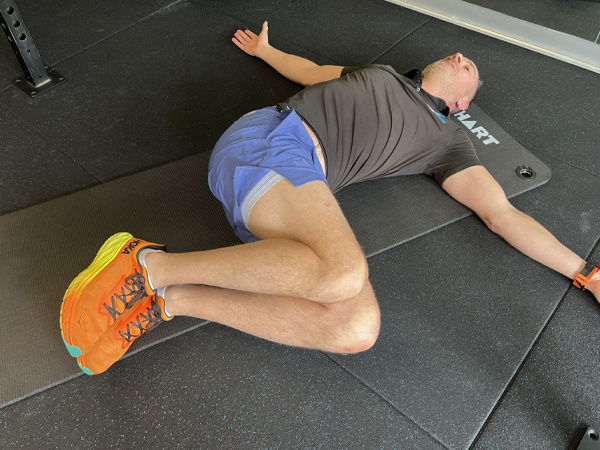
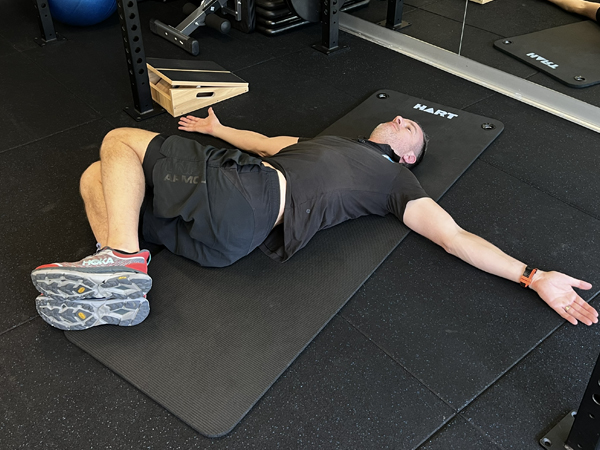
LUMBAR ROTATION — KNEES EXERCISE


For the Lumbar Rotation — Knees exercise, the direction depends on your symptoms.

If your pain is mainly on one side, perform the rotation towards the painful side only.

For example:

If your disc-related pain is on the left side of your lower back, buttock or leg, gently let your knees rotate to the left.

If your disc-related pain is on the right side of your lower back, buttock or leg, gently let your knees rotate to the right.

If your pain is central or on both sides, you can gently rotate your knees to both sides, staying within a comfortable range.

This exercise should feel like it is easing stiffness or helping symptoms settle. It should not increase pain down the leg or make symptoms travel further away from the spine. If that happens, stop the exercise and check with your Physiotherapist.


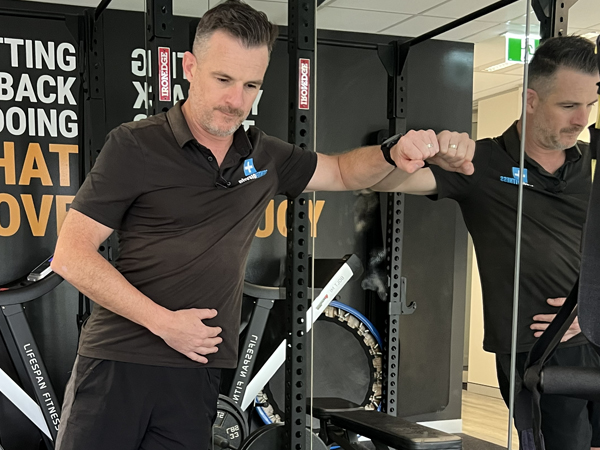
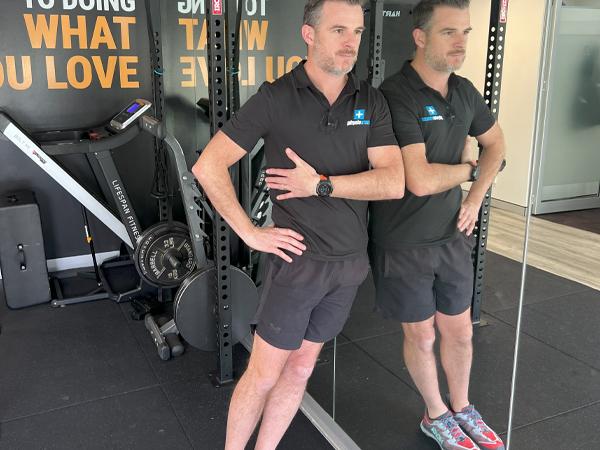
SIDE GLIDE EXERCISES


The side glide exercises are only for people with one-sided disc-related pain, one-sided referred leg symptoms, sciatica/radiculopathy, or a lateral shift.

These exercises are not general mobility exercises for everyone. They are direction-specific.


If you have pain on the left side

If your pain is mainly on the left side of your lower back, buttock or leg, place your right shoulder against the wall for the wall side glide.

This means the shoulder on the wall is the opposite side to your pain.

For the standing side glide, gently move your hips to the right.


If you have pain on the right side

If your pain is mainly on the right side of your lower back, buttock or leg, place your left shoulder against the wall for the wall side glide.

Again, the shoulder on the wall is the opposite side to your pain.

For the standing side glide, gently move your hips to the left.


If you have a visible lateral shift

If your hips are visibly shifted to the right, you usually correct this by moving your hips back to the left. In this case, your left shoulder would be against the wall.

If your hips are visibly shifted to the left, you usually correct this by moving your hips back to the right. In this case, your right shoulder would be against the wall.

The goal is to gently guide your body back towards a more central, upright position.

These exercises should only be continued if they reduce symptoms, centralise symptoms, or make you feel more upright and comfortable. Stop if they increase leg pain, worsen pins and needles or numbness, or make your symptoms travel further down the leg.


Videos to Watch

Account Image

Account Image
Account Image